Sega Universal -> New Net City Rebuild

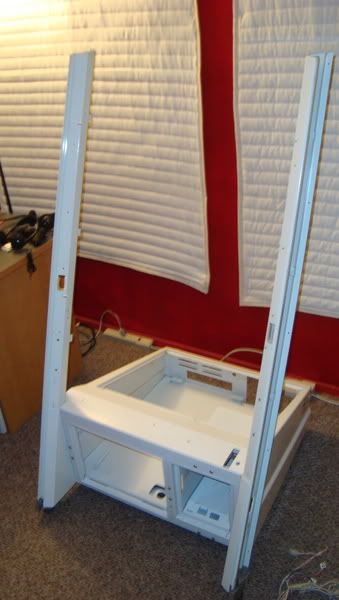
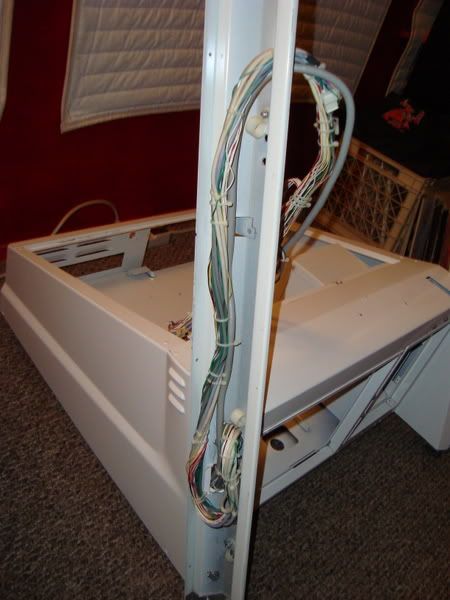
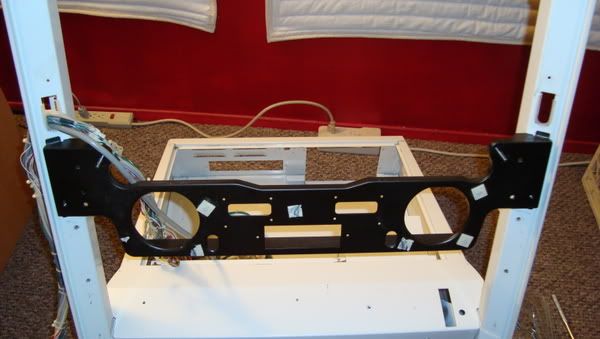
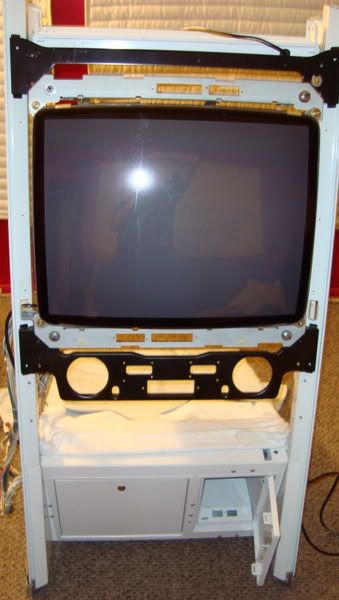
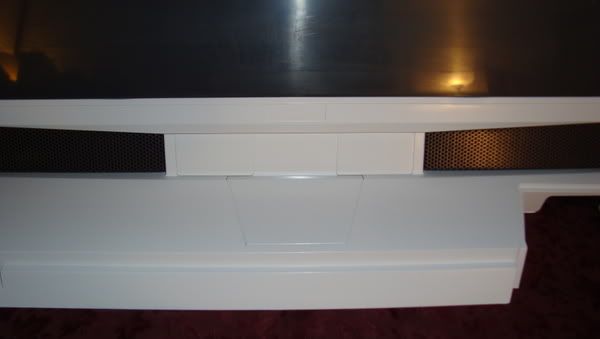
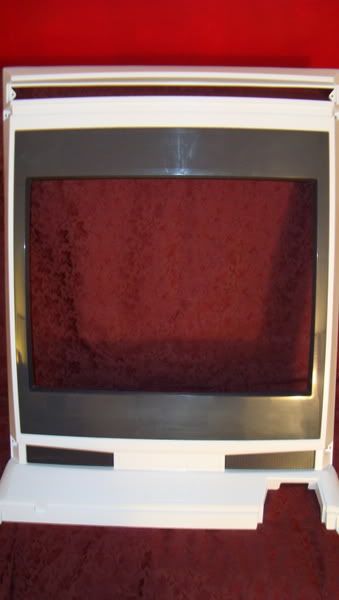
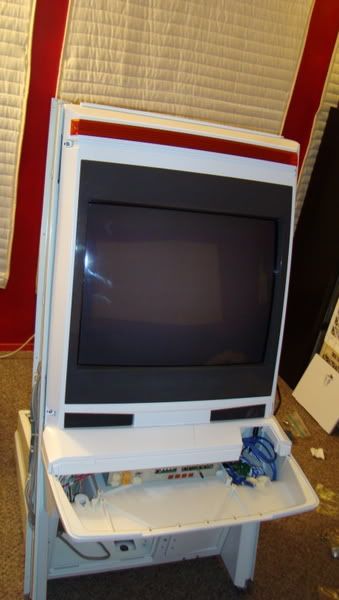
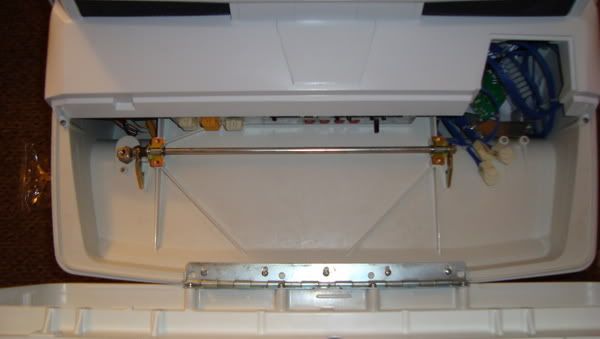
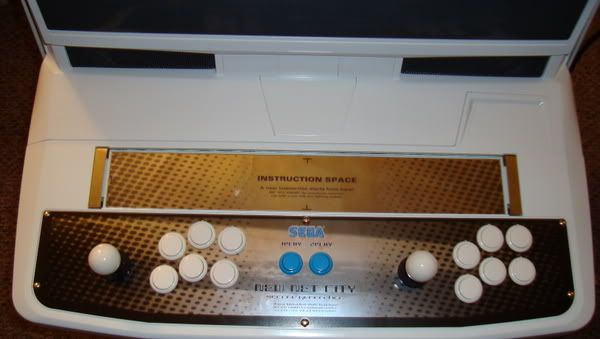
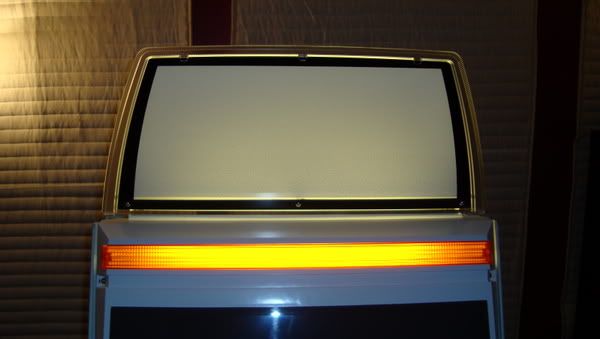
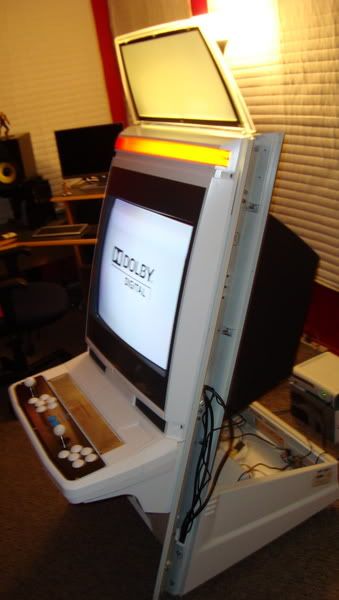
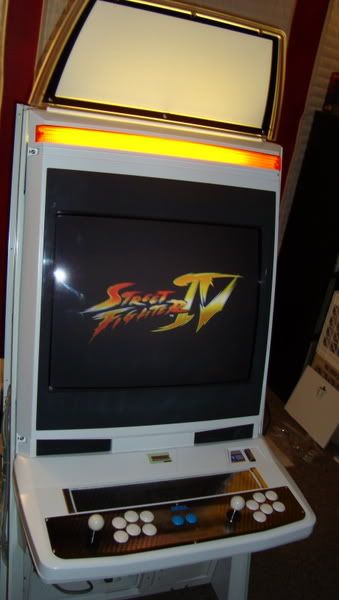
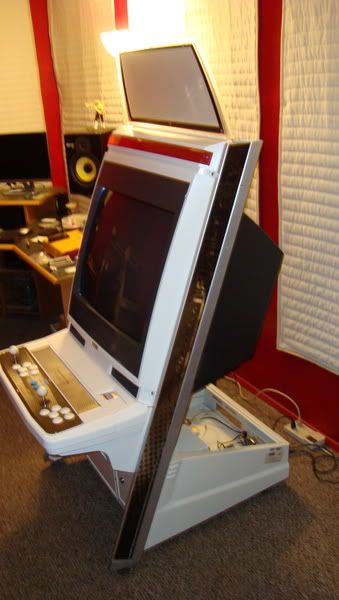
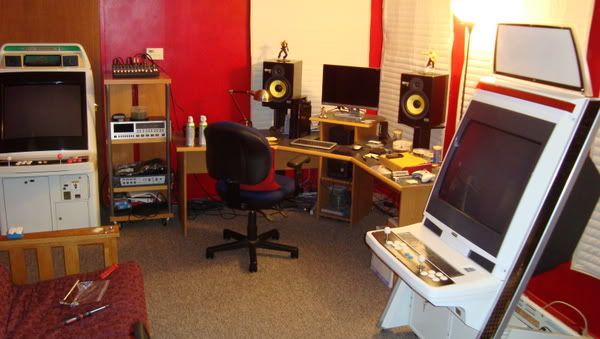
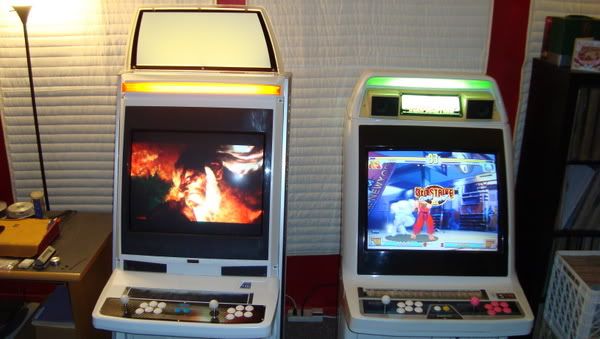
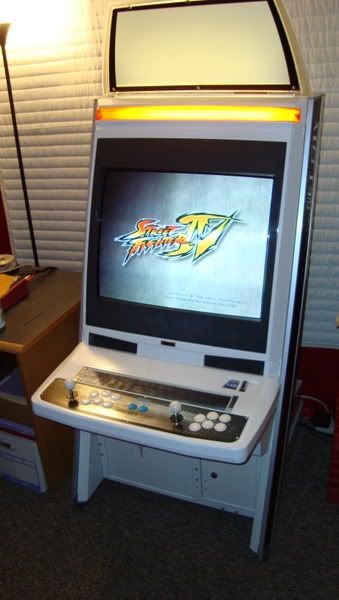
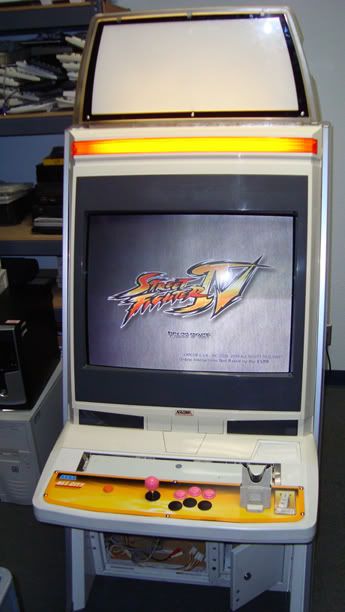
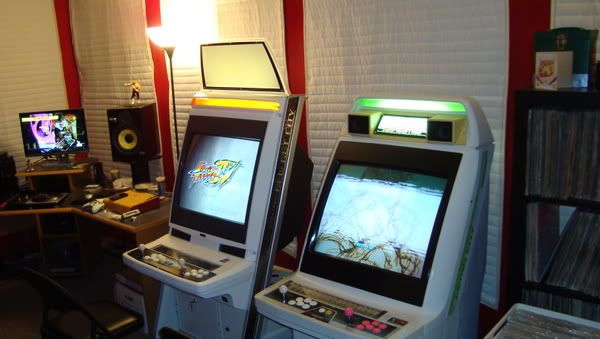
I bought a chopped Sega Naomi Universal arcade cabinet in the spring and I wanted to clean it up and turn it into a Sega New Net City:

Photobucket

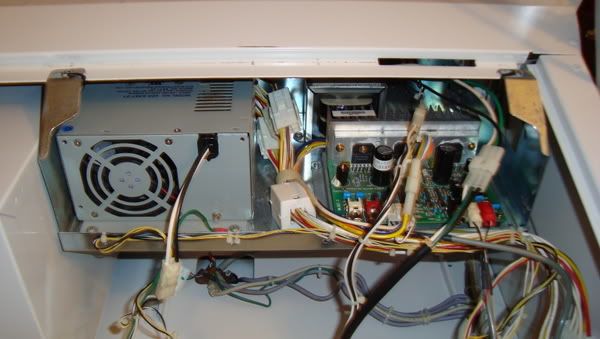
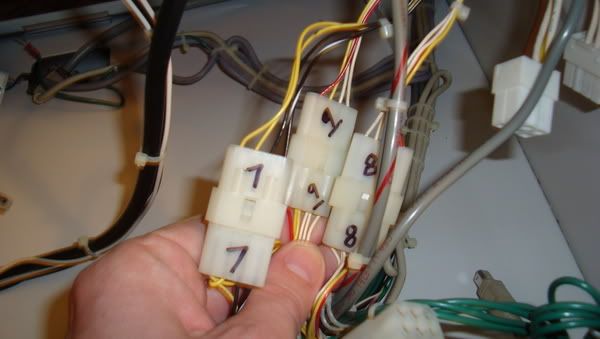
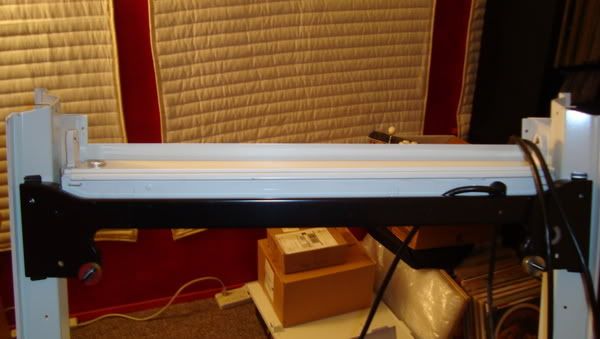
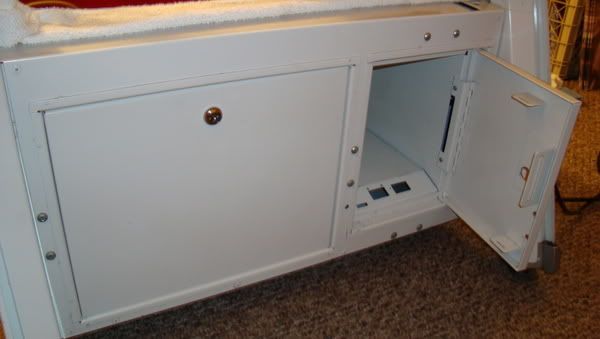
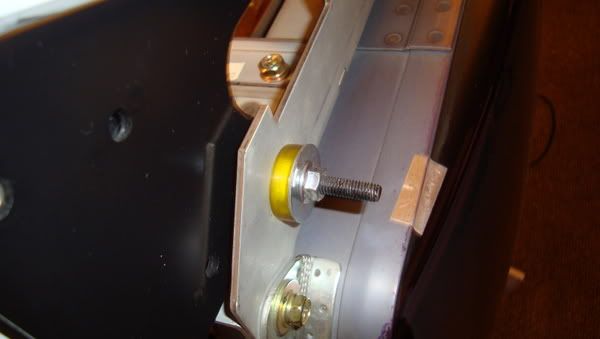
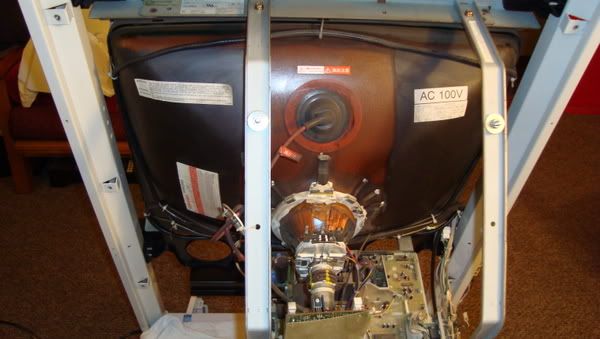
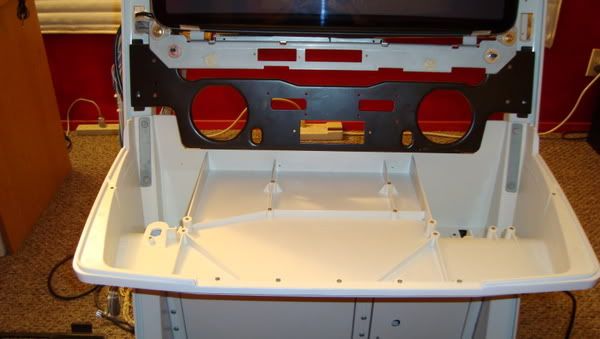
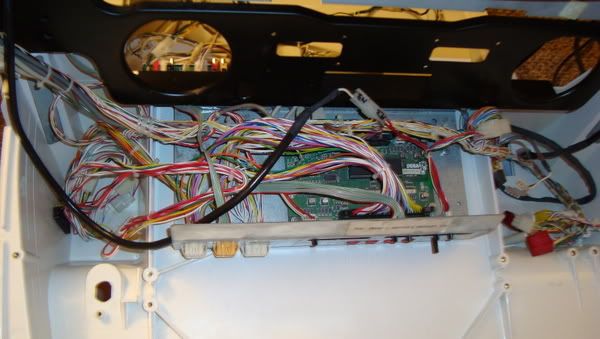
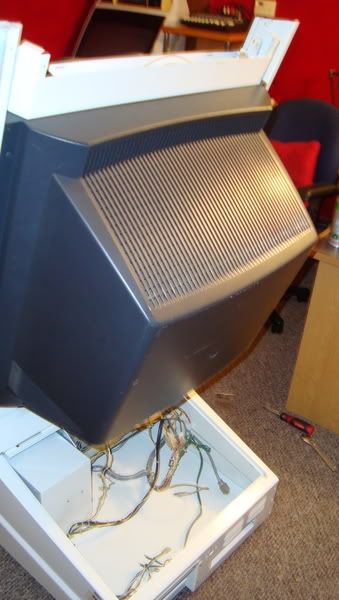
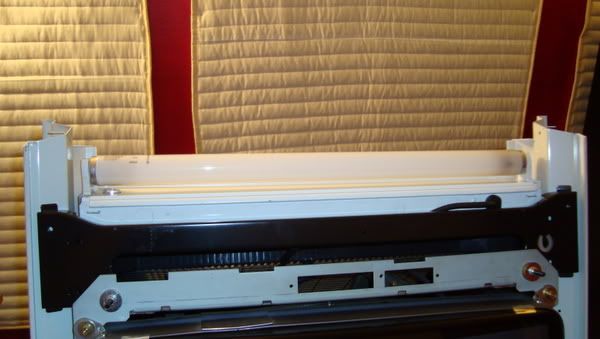
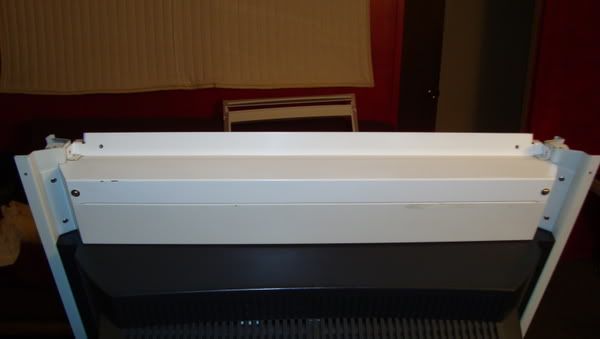
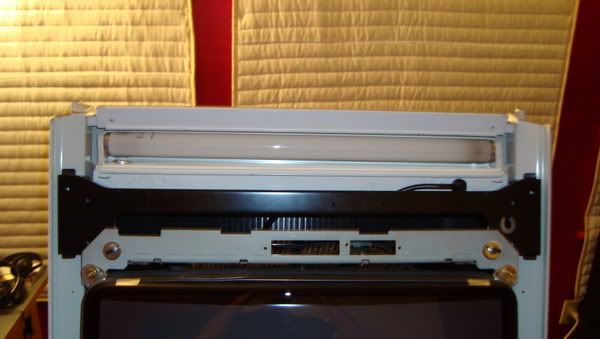
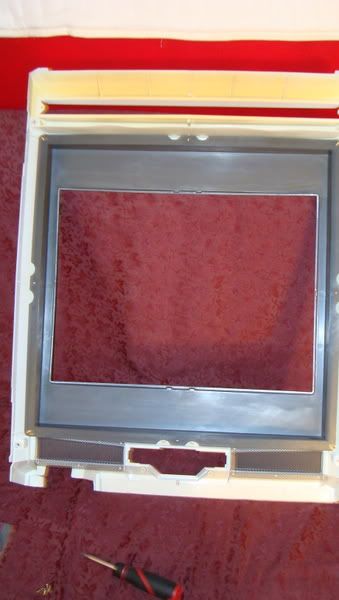
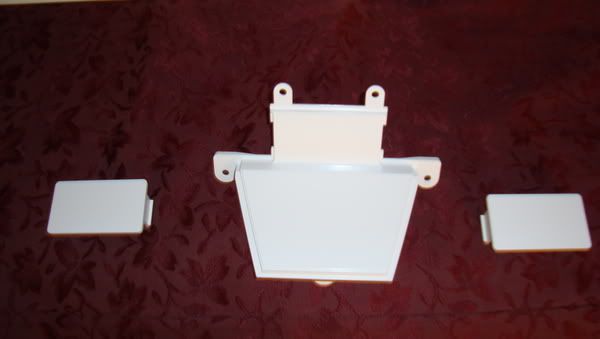
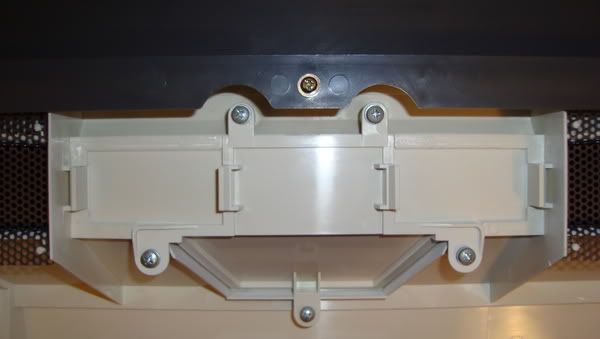
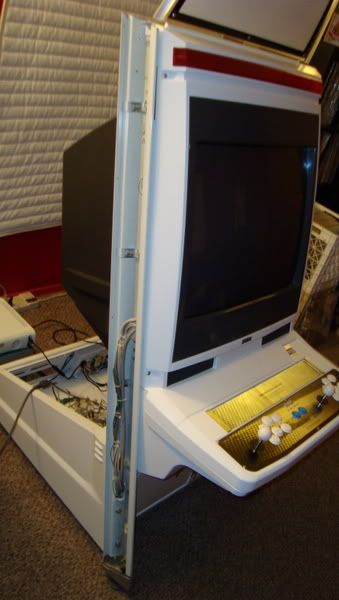
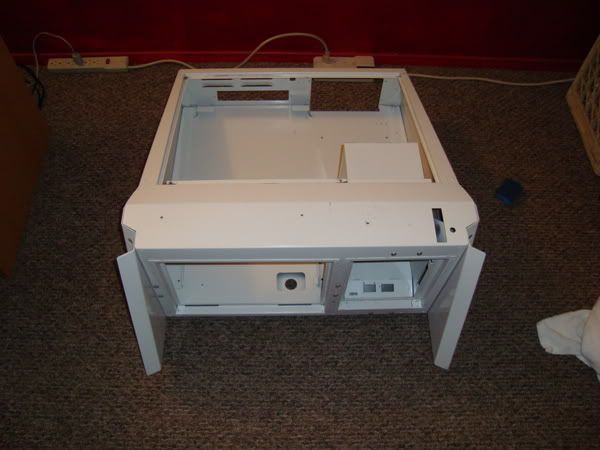
Wanted to freshin the paint up and give it a good cleaning. Around this time I bought a US PFX to replace the 31k Nanao it came with. But I had just bought a New Astro and had no where to put it at my house. So I dismantled it and stored at work in a closet. Being the noob that I am. I took lots of pics of the dismantle and labled bag after bag of all the parts. Finally, I just made some room and had time to rebuild it over the holidays. Still working on the PFX power adapter, but wanted to get it working to play for the next week. So here is my rebuild in all of its glory. :P Reading this post is what really inspired me to do this:

viewtopic.php?f=6&t=2436

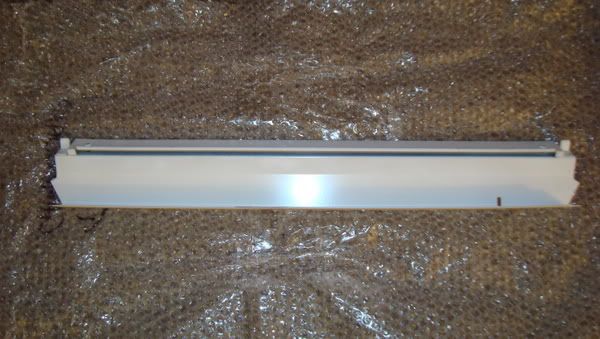
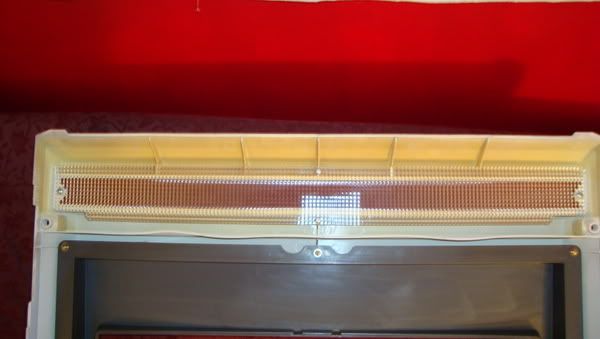
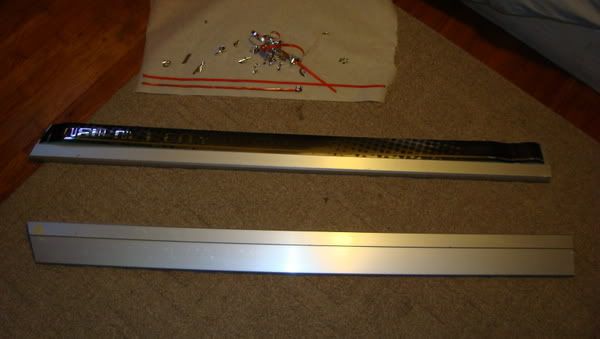
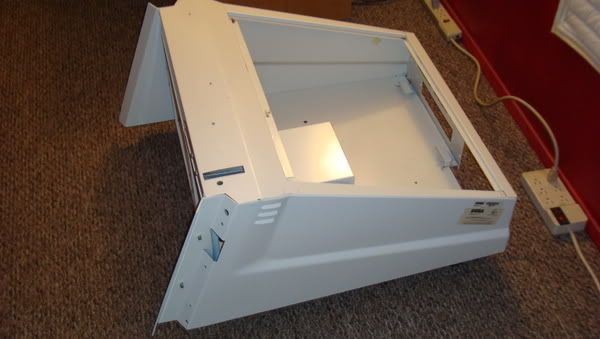
I had my friend paint some of the plastics in Appliance Gloss White. I wanted to do the metal base and doors also but I just didnt have the recources or time. I focused on what I could do. I magic erased the **** out of everything I could. I bought a NNC kit from Craig @:

http://www.giz10p.co.uk/Cabinet-Parts/S ... od_89.html

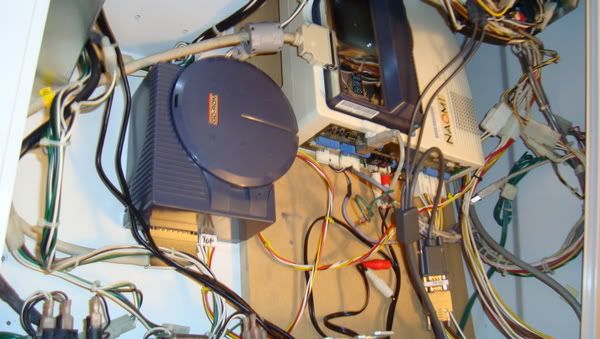
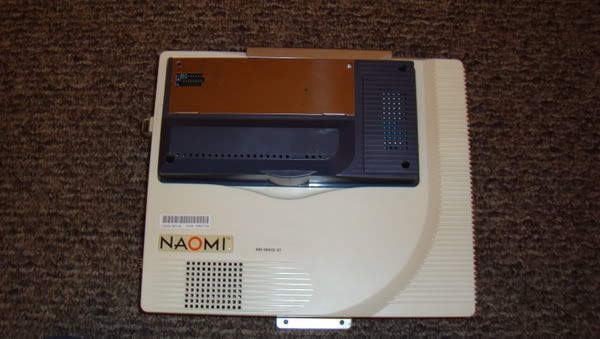
Also sourced a new marquee holder. Bought new parts when I could. A new marquee, buttons, and sticks. Bought a cheap Naomi board with broken Gd-Rom for cheap. Adjusted the Gd-Rom laser pot and fixed. Magic erased the whole Naomi board and good as new. Resoldered the RCAs on the cabinet sound amp to fix sound problems. Replaced dead Sun psu fan. Then I started the rebuild of my chopped Uni.
Photobucket

Photobucket

Photobucket

Photobucket

Photobucket

Photobucket

Photobucket

Photobucket

Photobucket

Photobucket

Photobucket

Photobucket

Photobucket

Photobucket

Photobucket

Photobucket

Photobucket

Photobucket

Photobucket

Photobucket

Photobucket

Photobucket

Photobucket

Photobucket

Photobucket

Photobucket

Photobucket

Photobucket

Photobucket

Photobucket

Photobucket

Photobucket

Photobucket

Photobucket

Photobucket

Photobucket

Photobucket

Photobucket

Photobucket

Photobucket

Photobucket

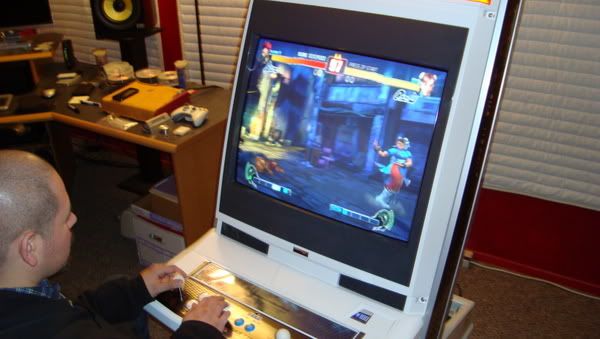
Put the OG Nanao 31k until I have the PFX adapter sorted. Lent out my only Naomi game so threw in my Xbox360 pad hacks and tested out SF4. Everything turned on and ran great. Pretty surprised being I know nothing about this stuff. I owe it all to Arcade Otaku!

http://forum.arcadeotaku.com/index.php

:D Thanks to everyone who helps out there. I still have a little more work to do but I cant believe how great it turned out. Thanks again.

Wii New Super Mario Bros. 1up Trick!

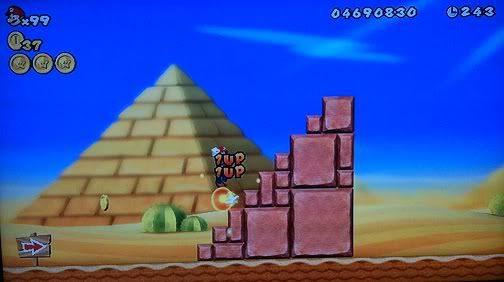
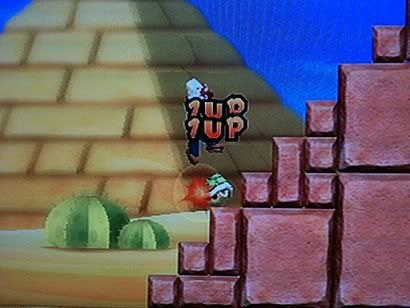
So Ive been playing the New Super Mario Bros on the Wii. Its just like the OG Nes version just more refined and added moves. You still have 2 buttons and the D-pad, but you can do so much with them. We like to get extra lives in level 2-3. Mid ways through there is a pipe up in the air. Go in this pipe and hit the p block and you get six 1ups. Now at the end of this level there is a turtle coming down the stairs before the flag pole. I instantly was reminded of the 1up trick in the Nes Mario Bros. World 3-1 where the 2 turtles are coming down the steps. It looks a little something like this:


Well after many times through 2-3 I finally did it. So if you want a quick way to get 99 men, this is pretty nice. I find standing on the edge of the 3rd step and doing a little jump to start it off works the best.

Photobucket

Photobucket

Golfernoggins

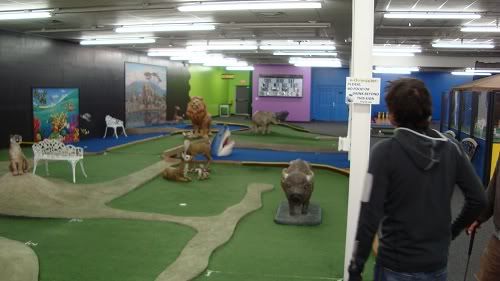
Well Im still stuck in Telluride. So I started to edit pics from my trip so far. On our way here we stopped off in Albuquerque to visit a friend. While there I came across the craziest sign:

Photobucket


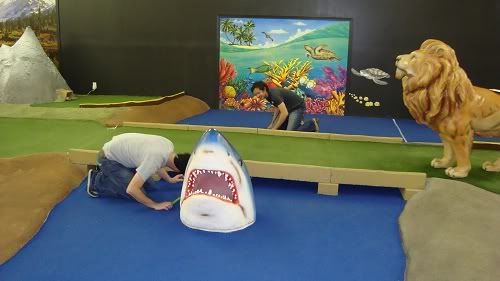
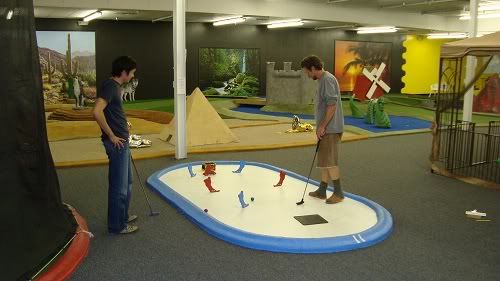
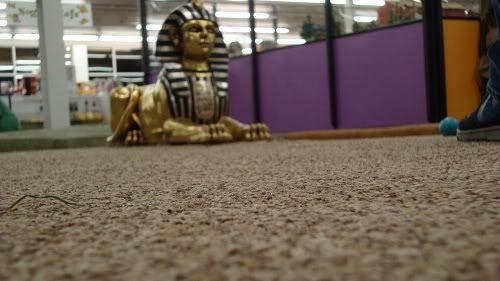
So after dinner we decided to check it out. We ended up playing 18 holes and it was very fun. If you are ever in the area I highly recommend stopping by.

http://golfernoggins.com/

Check the last video in this post to hear their theme song!

Photobucket

Photobucket

Photobucket

Photobucket

Photobucket


Cell and the 240sx take a trip to Telluride

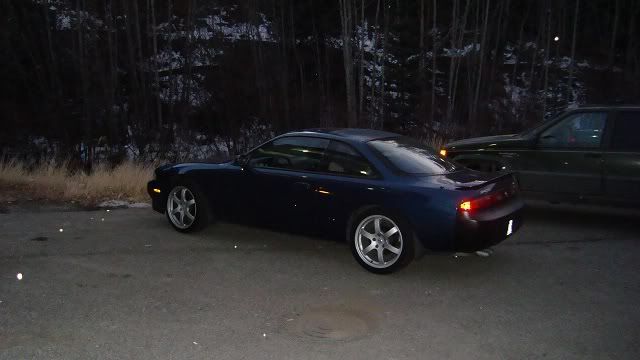
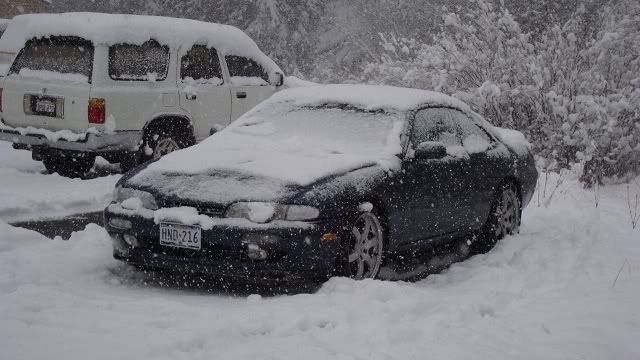
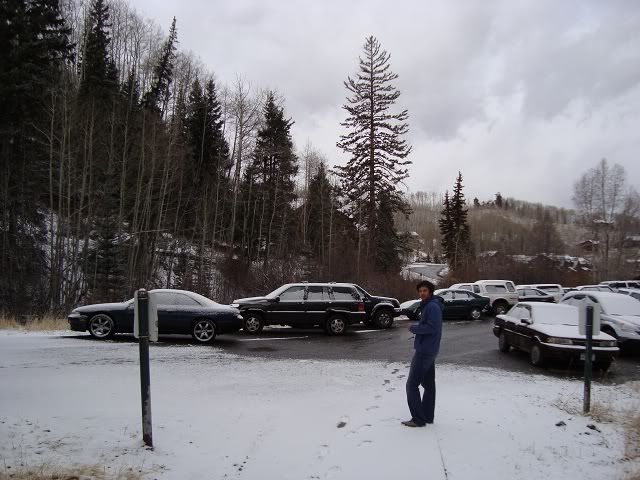
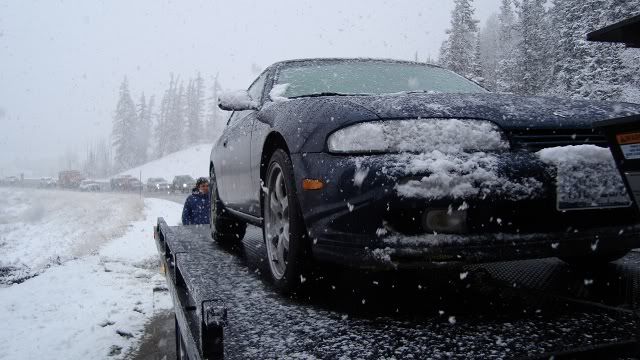
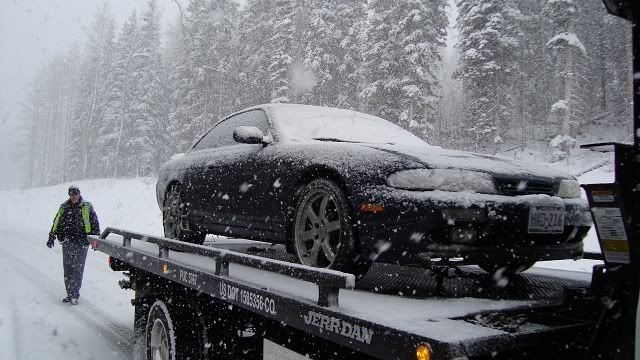
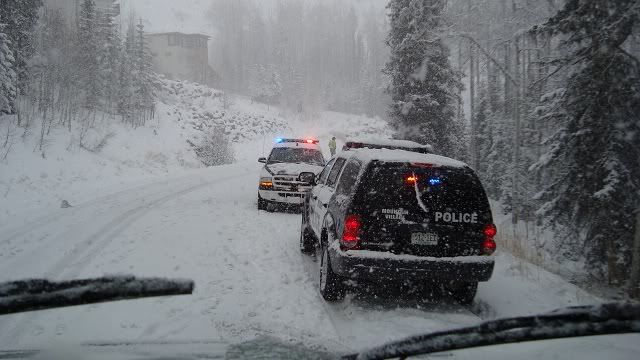
Well I decided to give my great friend Ed a ride to his new home of Telluride, Co. I had planned to spend a day with him and leave the next morning. But things dont always work out the way you think. It hadnt snowed yet and everything seemed fine. But while we were eating breakfast it started to snow. And then it really started to snow. While on our way back around the mountain from Telluride to Mountain Village, the car began to lose traction pretty bad. So we went back to Telluride, which isnt very big, and bought some chains for the tires. Started back around the mountain and as soon as we started to climb we started to slide off the edge. It was very scary. We ended having to get help. A nice cop got us a tow from this guy named Renegade. After a little detour he dropped us off and we are safe. But it will be snowing for the next few days so I will be staying longer than I had planned.

Snow Joke!

Photobucket

Photobucket

Photobucket

Photobucket

Photobucket

Photobucket

Photobucket

Photobucket

Photobucket

OSx86 Project

Photobucket

I havent updated the blog in a few weeks. Ive been very busy with a new project. My friend just got a new Dell laptop. He is moving away next week and wanted to know if its possible to run Garageband on a pc. Its not. But you can run Mac OSX on a pc. So I looked into that. This website has all the info you will need:

http://www.insanelymac.com/

But its not that simple. You need a computer with components that are similar to an Intel mac. You DONT have to, but it will make things a lot easier.

Dell Mini 10v

In the link above you see how to take a very cheap Dell Mini and run a retail copy of OSX on it. But other laptops and computers may not be so easy. I started on my Dell M1210 first. And after a few days I am now tri booting XP, Win7 and Osx 10.5.6. But its not flawless. I dont have the bootloader working perfect. As I work more on my friends Dell 1318 I will post back with how I got things running and what all works. Thats if I can do it. =)

Iphone 3gs 3.1 OTB Jailbroken with Blackra1n

Photobucket

http://blackra1n.com/

Geohot released Blackra1n at 3:33am Sunday 10-11-09. I have a Week 37 iPhone 3gs that shipped with 3.1 OTB - out of the box. So this is the first app to allow me to jailbreak it. This tutorial is for the PC version of Blackra1n. There is a mac version also.


BlackRa1n will not unlock your iPhone. Also you should not update to 3.1.2 if you want to be able to unlock. If that’s your case, you will have to wait for the Dev Team to update PwnageTool.


This tutorial was written for an iPhone 3GS but the process is exactly the same for all iPhones.

How to Jailbreak Your iPhone Using BlackRain:

Step 1: Update iTunes to the latest version available, (as of 10-14-09 its iTunes 9), and reboot your computer. 3.1.2 is the lastest iPhone firmware at this time. (My iPhone 3gs was on 3.1 and this still worked. For others it did not.)

Step 2: Download BlackRa1n: http://blackra1n.com/

Step 3: Plug your iPhone to your computer and launch BlackRa1n. Click on “make it ra1n”.

Step 4: Your iPhone will now enter recovery mode. The regular recovery mode image on your iPhone will be replaced by a picture of GeoHot.

Step 5: BlackRa1n will run on your iPhone and then it will reboot.

Step 6: Once your iPhone reboots, you will notice a new icon on your springboard. This is BlackRa1n. Now make sure you have internet connection and launch BlackRa1n on your iPhone.

Step 7: Choose what installer applications you want to install on your iPhone and then tap “Install”. I suggest only installing Cydia.

BlackRa1n will download and install Cydia.

Step 8: Once done installing, your iPhone will respring and you should see Cydia on your springboard.

Step 9: Once your installer app (Cydia in our case) is installed. You can safely uninstall BlackRa1n by launching the app and selecting “uninstall balckra1n”.

Step 10: Reboot your iPhone. You’re done!

Now the first thing to do after Jailbreaking your iPhone and getting Cydia installed is to update Cydia. Then I would use Cydia to install Winterboard. This allows you to install tons of themes. Finally open up Cydia, go to manage, then sources. Hit EDIT then ADD. And add: http://cydia.hackulo.us/

Cydia will now add a Hackulo.us folder in SECTIONS. Go to SECTIONS in Cydia and click Hackulo.us. Then scroll down to Installous. Install it. Once you are done you will have an Installous icon on your springboard. With Installous, you will be able to install all sorts of apps.